
 Fast Quote
Log in
Sign Up
Don't have an account? Sign Up
Already have an account? Log in




 Brand New In Stock
 Ships Today
 12 Months Kernfix Warranty
 Urgent Worldwide Shipping
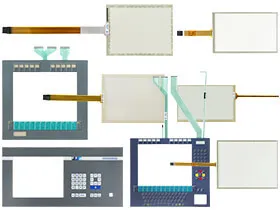
Suppy Touchscreen, Keyboard, and LCD Display for Allen Bradley PanelView 1000 Terminals Replacement
Touch screen Technology: analog resistive
Display Size: 10.1 i
Display Color: Amber
Software: PanelBuilder (Configuration and Development)
Input Type:Touchscreen & Keypad
Input Power:90-130 Volts Alternating Current
How to install the PanelView 1000 terminal in a panel?
1. Cut an opening in the panel using the panel cutout provided with the terminal. Remove any sharp edges or burrs.
2. Make sure the terminal sealing gasket is properly positioned on the terminal as shown below. This gasket forms a compression type seal. Do not use sealing compounds.
3. Although the keypad legend insert can be installed any time, we recommend that you install it after the terminal is installed.
4. Place the terminal in the panel cutout.
5. Install the 6 mounting clips (2 on top, 2 on bottom, 1 on each side); the ends of the clips slide into the slots on the terminal. Tighten the clip mounting screws by hand until the gasket seal contacts the mounting surface uniformly.
6. Alternately tighten the mounting clip screws to a torque of 1.13 N•m (10 lb•in). Do not overtighten. Bezel may not contact enclosure surface.
7. Remove the 2 protective labels covering the top vents of the terminal.
 Fast Quote
 Worldwide Shipping
 12 Months Warranty
 Customize Service