Touchscreen-Keypad-Display-Case & More Search 80000 Inventory
user photo
Account
Login
Cart
0
HOME / All / Beijer HMI/ iX TxX Operator Panels

iX TxX Operator Panels

  • Series overview
  • More information
  • Select by specs
  • Troubleshooting
  • iX TxX Operator Panels
    Brand New In StockShips Today

    12 Months Kernfix Warranty

    Urgent Worldwide Shipping

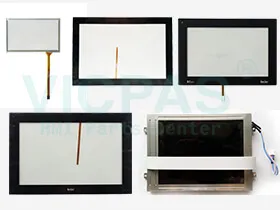
    The Beijer iX TxX operator panels series ranging from ultra-compact 4-inch panels to 21-inch industrial PCs, all models have high-performance CPUs and the latest screen technology. Kernfix supply brand new Beijer HMI parts for repair, include iX T4A, iX T7A, iX T10A, iX T7B, iX T12B, iX T15B,. All of them are support Kernfix 365 days Warranty.
  • In Stock
    • Supply Touchscreen, Protective Film, and LCD Display for Beijer ixX Operator Panel Series Replacement

    • MTBF backlighting (at 25 °C): about 50000 h

    • Control elements: Keys and Touch

    • Fuse:1 AT, Littelfuse R452 001 (Nano2 SMF Slo-Blo) or 800 mAT, 5 x 20 mm.

    • Touch screen material Polyester on glass, resistive.
      Overlay: Autotex F157 or F207(1).

    • SalesDeep Suppy Beijer HMI Parts Catalog


  • Display Size
    • 12.1''
    • 10.4''
    • 6.5''
    • 5.7''
    • 15''
    • 3.5''
    • 8.4''
    • 10.1''
    • 17''
    • 19''
    • 22''
    • 18.1''
    • 7''
    • 4.3''
    • 9''
    • 24''
    Touch Operation
    • Analog-Resistive
    • Matrix
    • Capacitive
    Product Type
    • Touchscreen
    • Keypad
    • Display
    • Touchscreen Overlay
    • Touchscreen Keypad
    Display Color
    • Color
    • Monochrome
  • How to Replacing the Beijer ixX Operaotr Panel Display/Display Cable


    The following is needed:

    • A new display— including front adapter board, display frame and a new display cable
    • A Torx TX10 screwdriver
    • Phillips screwdriver


    Note:
    Make sure to use adequate ESD protection.


    Information about spare parts can be found in chapter Available Spare Parts.
    Follow the steps below:

    • 1. Power off the operator panel.
    • 2. Followthe instructions in chapter Replacing theBackCover and/orCPUCard to remove the back cover.
    • 3. Unlock the flex cable connector and disconnect the flex cable fromthe CPUboard.


    • Note:
      The connector must be unlocked on both sides before removing the cable.


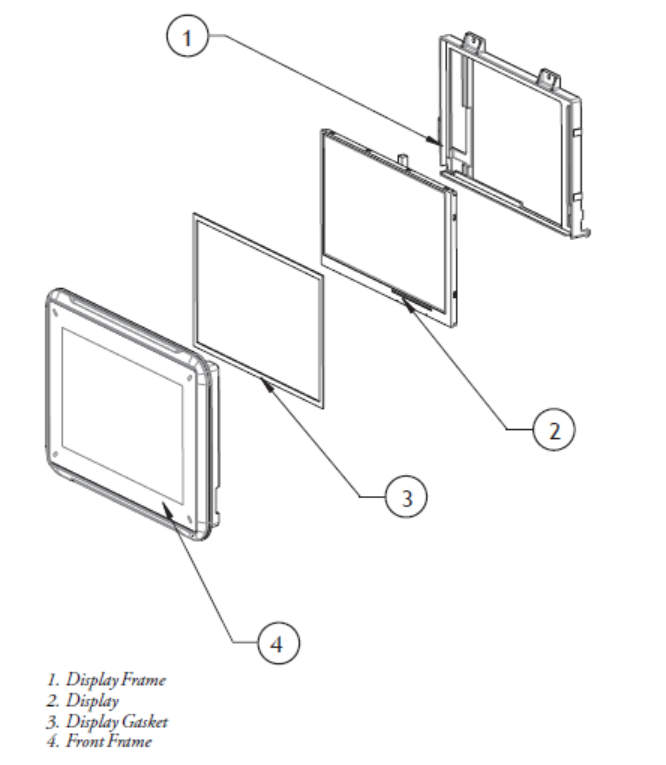
    • 5. Unscrewthe display frame (1) and remove the old display (2).

    • 6. Assemble the newdisplay (2).


      Caution:
      Take care that the display gasket (3) between the front frame (4) and display (2) is inthe correct position, and that it is not damaged.

search:
Do you want to quickly know the product quotation you need?
  • Fast QuoteFast Quote
  • Worldwide ShippingWorldwide Shipping
  • 12 Months Warranty12 Months Warranty
  • Customize ServiceCustomize Service
KEEP IN TOUCH
Please send your message to us
*Email
Mobile Phone
*Title
*Content